# How to Manage Users
### Create a User and invite them to start using Gopher Security
1. Sign in to the Gopher dashboard.\
\&#xNAN;*If you do not have a Gopher account, refer to* [Sign Up for Gopher Dashboard](https://app.gitbook.com/o/rveovfjCHeLExDgKQR2M/s/LEGeo1VJx52ReYZGHnWA/) *for instructions.*
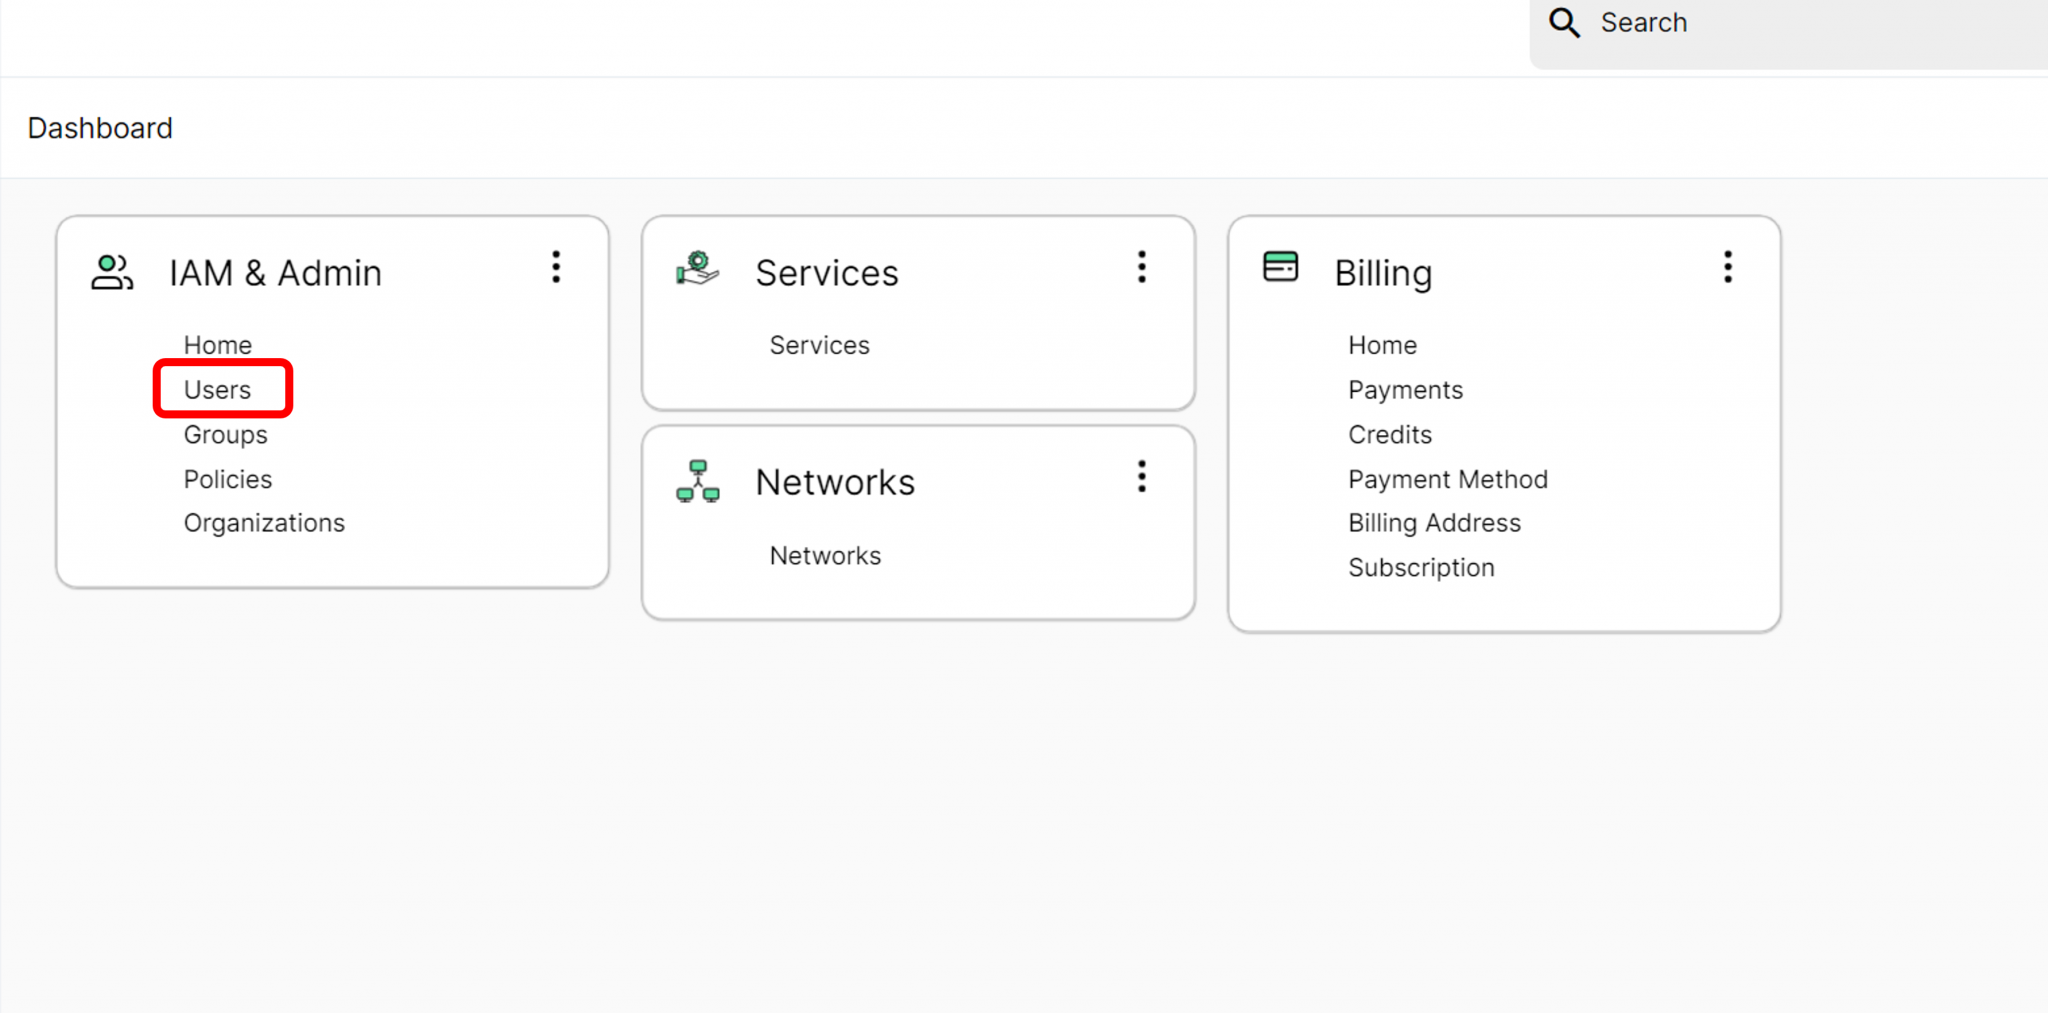
2. From the IAM & Admin menu click **Users**.
3. Click **Add User**.
4. Enter the User Information in the form provided. The fields marked with an ‘\*’ are required.
5. Click **Add User**.
IAM Admin > Users
**Note:** A Gopher Security email from the Gopher root account will be sent to the user’s email address. The email subject line will be formatted as follows:\
\
\&#xNAN;*\ invites you to the Team.*\
\
The body of the email will be formatted as follows:\
\
\&#xNAN;*Hello, \*\
\
\&#xNAN;*\ has invited you to the team: Remote Access.*\
\&#xNAN;*Your login info is provided below.*\
\
\&#xNAN;*Username: \*\
\&#xNAN;*Initial password: JTHHGV4WM1LM3PSNGXLWMNCU*\
\
\&#xNAN;*You will be prompted to change your password after your first login.*\
\
\&#xNAN;*Your account is being provisioned for access and will be receiving additional instructions* *soon that will provide you with steps to login and the tasks you will be performing with your Gopher acccess.*\
\
\&#xNAN;*Welcome to the team!*
### View/Edit User Details
1. To manage settings for a user go to **IAM Admin** > **Users**.
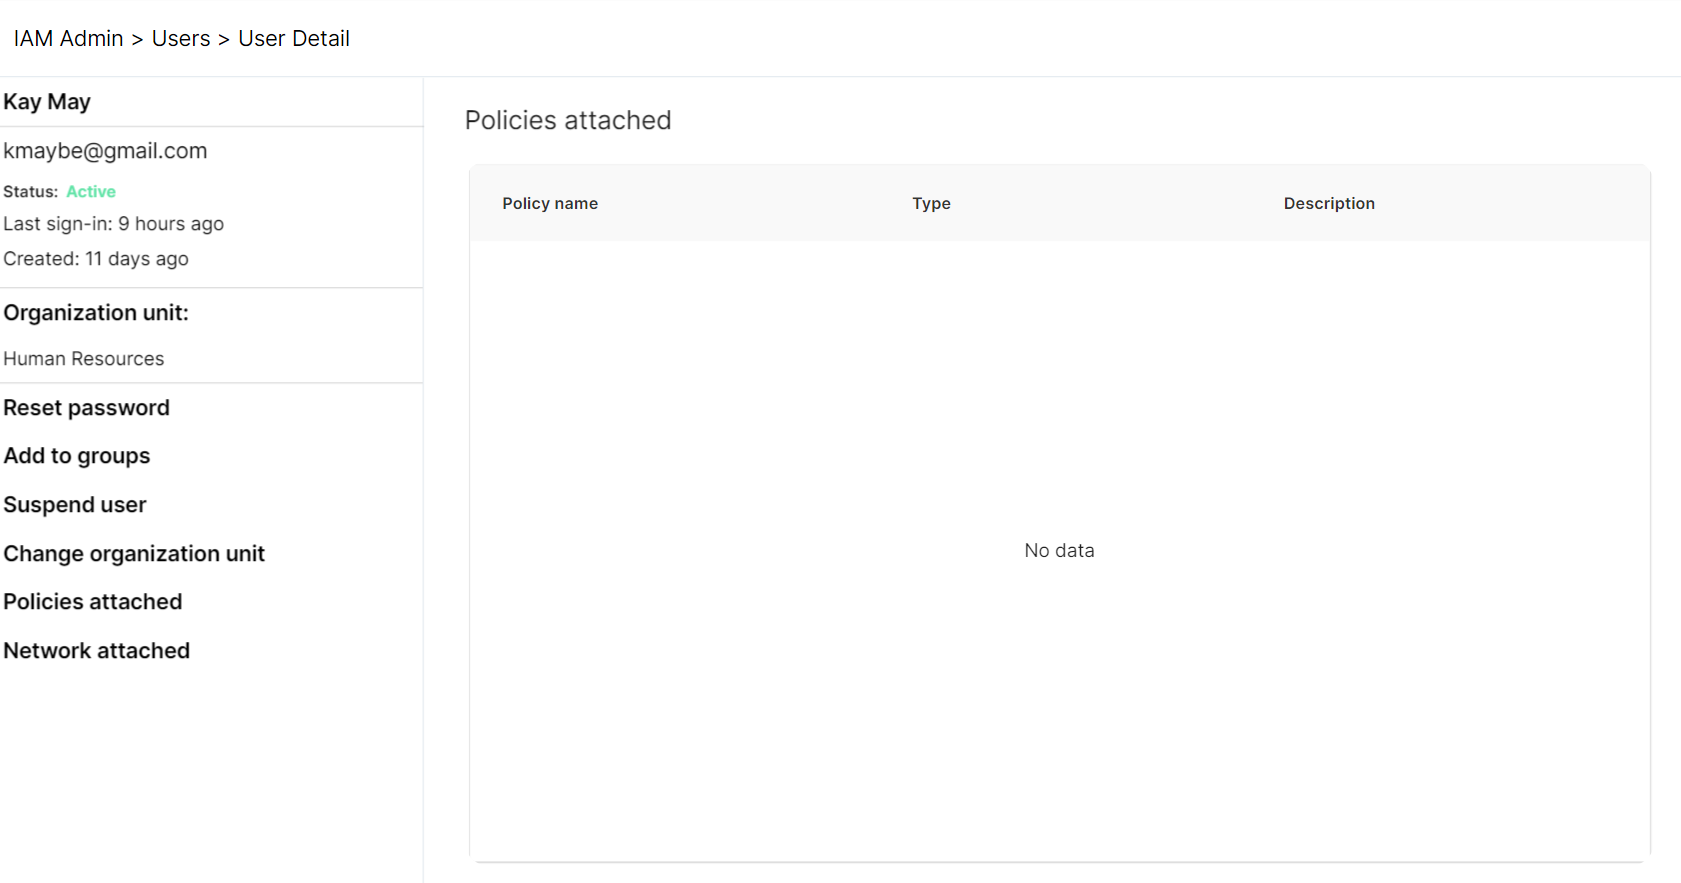
2. Click a user to open the **User Detail** panel.
**Note:** The User Detail panel provides you with a comprehensive Identity and Access Management (IAM) view of the user account. From here, you can perform many account functions including modifying the account details, resetting users' passwords, and adding users to groups. You can also view the Policies and Networks that are attached to a user.